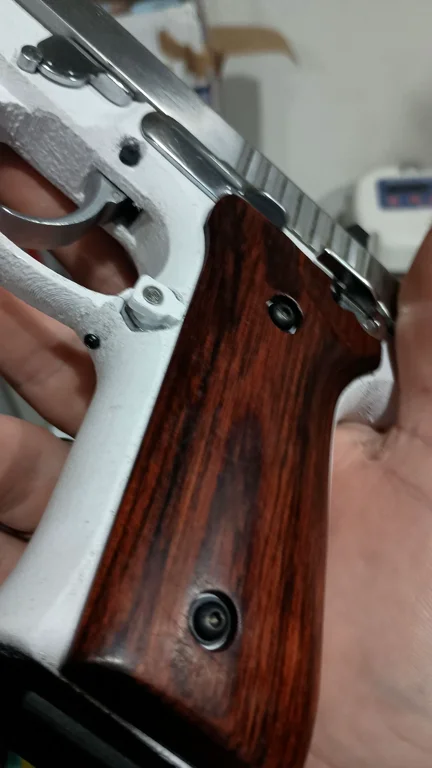
Fossdad's Extended Magazine Release for the PT92/PT99/PT100
Materials Needed:
-OEM PT92 Magazine Release Assembly.
-M2.5-0.45x20mm Hex socket head machine screw (https://a.co/d/89oPoCW)
-Thread locker or Glue
-High-quality filament of PLA+ or better
Print Recommendations:
Print face side down, with supports, with the highest of infill, 6 walls+, 0.2 or 0.4 nozzle
Directions:
-
Disassemble your oem magazine release assembly. Separating the button, button spring, catch, and cage.
-
Insert the M2.5 screw into the printed release.
-
Apply a light strip of thread locker
-
Reassemble the magazine release assembly, by setting the spring onto the M2.5 screw and threading it into the OEM catch.
-
Install in pistol frame if applicable.
-
Ensure proper tension has been achieved. [See Note]
-
Enjoy
Note
Just like with the OEM assembly, it is possible to over & under torque the magazine release assembly. Proper torque with an oem assembly is approximately two rotations under max. This seems to translate approximately, but ymmv.
Confirm that a Loaded magazine is able to slide in easily, and releases when pressing the button. Tighten or loosen a 1/4 turn as needed.
LBRY Tags: taurus; extended; magazine; release; pt92
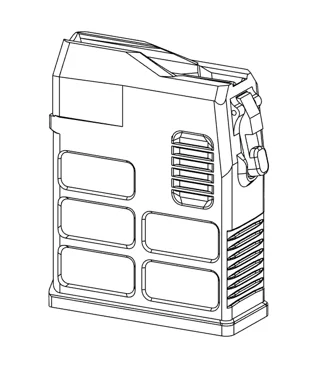

Ruger American Release Folder v1.0
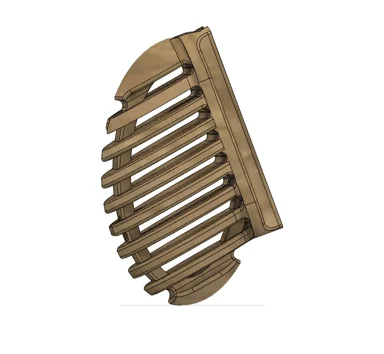

Potato Grip Re-Release

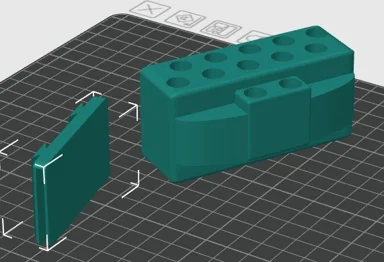
Six-Speed 44 Magnum Speed Loader