Giving credit to Mountainpig4077 for the first Glonk shoe trigger jig
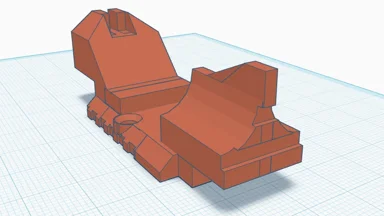
This is a tool to help aid in un-installing a Glonk or Glonk clone trigger pin. This perfectly replicates your old, worn out tape roll thats been rolling around the workbench for the past......God knows how long! The thing is, this ones 100 percent better than that ole tape roll! this has an area under the trigger port, that collects the pin as it drops! Itll just roll right into the center, with the rest of your parts! (As it should)
Print WITH supports
I did a solid 100 percent infill
.15 layer height across the board
should already be in the correct orientation, so just go and print it already!!!
-For the Sake of Science!
LBRY Tags: trigger; glock; jig; 1441; gun

You've got two approaches to fixing safety wobble:
-
Take a consistent-diameter dowel and fashion your own detent; or
-
Reprint and step-down the detent hole with multiple bits. You want to run a smaller-diameter bit through it that corresponds to the smaller diameter of the detent, then a larger one just deep enough to let the detent present to the cam properly without overextension. I forget which bits you need, but they're common imperial…
I would suspect the right way to work our way towards a fully DIY intermediate caliber design is to handle one part at a time. So start with a design that only DIYs the barrel, or the bolt, etc., then progressively step towards turning more parts from commercial to DIY.
I'd be curious to hear more about your ECM taper idea. What can you share about that?
I think making the DIY barrel should be the first priority. For the chamber a usual method of ECM can't be used so my idea is to use a linear motor that travels along the taper with precise timing to remove more material at the start and less at the end to create a smooth ramp. This paired with a copper ring that would selectively reduce one small section at a time. A lot of these DIY processes for ECM seem to have too many variables for failure…
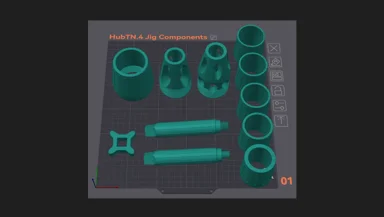

HubTN.4 - Assembly Jig (v1)
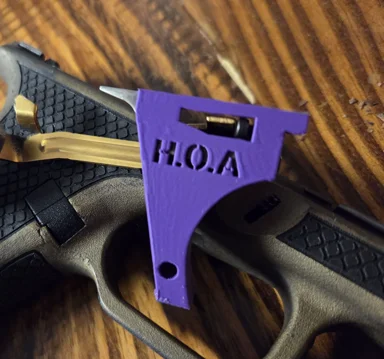

HOA Static, adjustable trigger housing
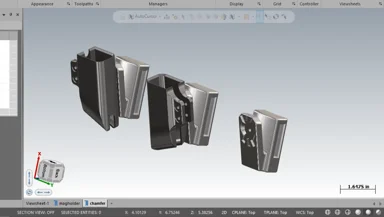

COMPETITION STYLE GLOCK MAGHOLDERS