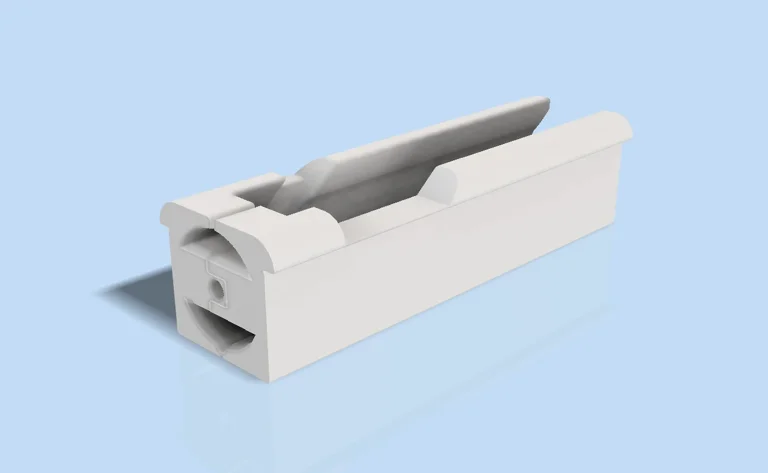
This is a fixture for holding Ruger Mk4 upper receivers firmly in a vise and preventing rotation, not sure if it works for Mk1-3 receivers, but I'm told they have very similar dimensions. I designed this tool for removing and re-installing factory rear sight assemblies, Ruger does not make this easy, but with this fixture it's a breeze. You can also boresight the upper inside the fixture.
Here are the notes for printing:
FILAMENTS: PLA and PETG work great, avoid filaments that may scratch receiver finish
ORIENT.: Rear block on the plate, as set in the .stp
STRENGTH: Solid infill, anywhere from 5 to infinity walls
SUPPORT: Zero support limbs, but I personally use a brim for a print of this shape
Here are the notes for usage:
Use some kind of abrasive to clear any protruding nubs inside the bore, I have used scotchbrite and light sandpaper, ideally attached to a spindle on a cordless drill.
CLEAN RELIGIOUSLY if you care about your upper's finish.
The cut-outs make it obvious which directions are in and out, you can't ruin a dovetail without breaking through filament first.
There is a slot made to hold a thin strip of leather, this is for using a brass punch, the force required for some receivers means raw brass is marring.
If you have a strong plastic punch or a good wooden dowel, you won't need a leather strip.
The receiver simply slides in through the open end, the fork on the rear of the receiver should be keyed into the block on the fixture's rear.
And don't forget about those set screws.
I use this tool professionally and it I've been very happy with it.
/@STPfiddler
LBRY Tags: gunsmithing; ruger; mk4; fixture; markiv
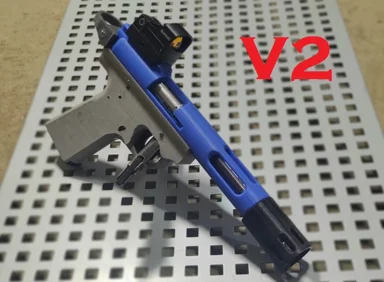

killos take on the 22/45 v2
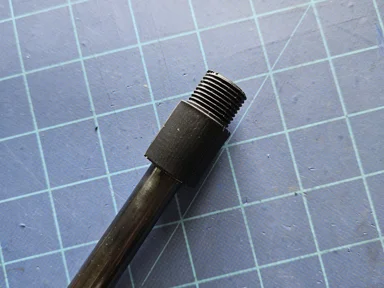

1022 Front Sight Barrel Adapter

Mk.3+-compatible Receiver Milling Instructions
