View this release
Alternative links
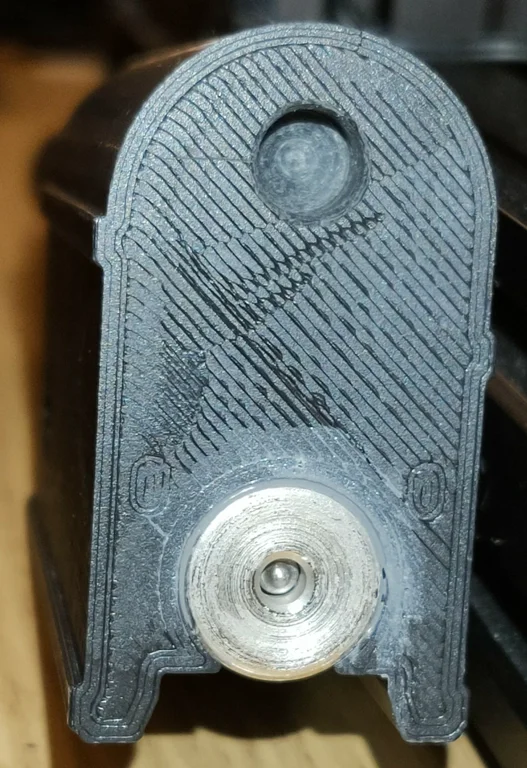
The 26M bolt is a bolt for the FGC9 MKII which requires no metal machining.
The bolt is printed using PLA+ and the same printing parameters as other FGC9 parts.
Turn on three supports on the slicer. This is an open beta and untested.
Things needed:
- 3.17 to 3.17 mm steel axis coupler. Dimensions: 14 mm diameter and 22 mm long. Available on Aliexpress.
- 10 tungsten electrodes: 175 mm long and 4 mm diameter.
- JB weld
- Epoxy resin
- Lead balls or powder (optional)
Instructions:
1 - Print the bolt and remove the supports. You can remove the 2 legs located at the bottom of the bolt.
2 - Insert the steel axis coupler in the bottom socket. If the firing pin can move freely inside it, you're good to go. Fix the steel coupler with JB weld, making sure that the firing pin channel remains clean.
3 - In the empty upper bar, pour some lead balls or powder, until there's enough to make the tungsten electrodes flush with the end of the upper bar. If you don't have any lead balls or powder, just put inside the 10 tungsten electrodes.
4 - Fill the upper rod with epoxy resin once the tungsten is inside. Let it cure.
Updated 16/04/23: Charging handle recess added; protusions for adding the drill bit in the original model removed.
LBRY Tags: fgc9; guns; diy; fosscad; print2a