View this release
Alternative links
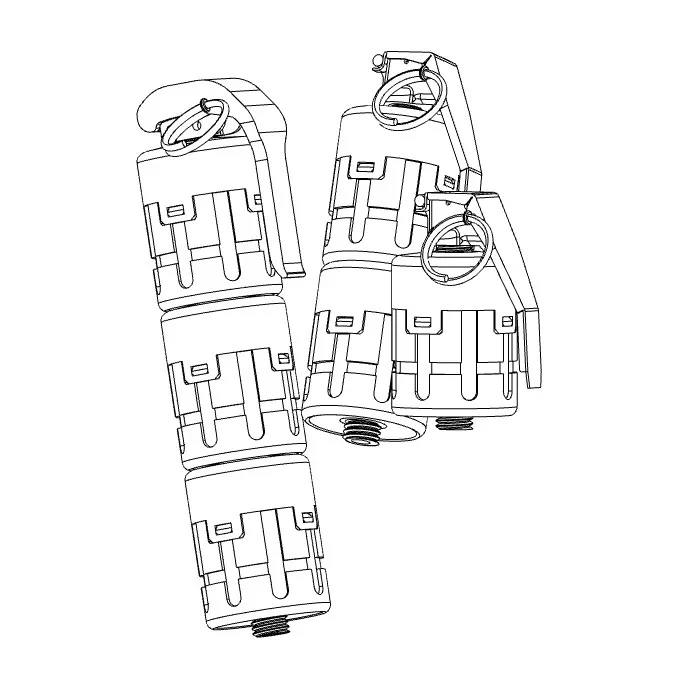
The OSHG, stackable grenade body is based on the real world Scalable Offensive Hand Grenade. Originally produced by Nammo, the novel device has not been in the public eye for some time.
The OSHG is assembled in two halves, with four tabs that snap in place. I recommend heating the fragile printable tabs with a lighter and pressing them into place to prevent snapping with brittle materials. Ensure the tabs are cleaned well and free of burrs. I used a solder iron to round the edges inside the tabs and a small lighter to heat the tabs. Ensure while heating the top side, you do not expose any payload in the bottom half to an open flame.
A prototype printable fuse head and spoon are also included. Assemble the left and right half into the center section with two M5 bolts 25mm in length and two M5 locking nuts, or similar hardware. Use a lighter to soften the threads on the body and carefully insert the fuse. Test fit all parts before installing any payload. The grenade body can be used with a metal M228 head or the printable head. Heat and careful fitting is needed for male threaded printed parts as the stems are 5/8" thick and are somewhat fragile.
Ensure multiple stacked grenades are assembled snug but not overtightened, and avoid bending the assembled units. The longer the assembly the more fragile it can become.
Ensure the desired filler material leaves a hole completely through the center of the grenade body for reliable ignition of subsequent grenade bodies, and ensure the end cap is affixed to prevent filler leaking from the grenade body.
When the printable fuse is ignited sparks will be thrown from the bottom of the grenade if the end cap is not in place. A punctured primer will also result in sparks emitting from the top of the device and care should be taken not to ignite or use the device around other unassembled units that are not properly stored or covered.
The recommendation is that 3 is a maximum that can be used effectively as any more make the overall device too fragile and unlikely to be thrown successfully. Even two bodies being used may separate if they land on a hard surface. It all comes down to careful fitting and your print settings when making and using this part. I cracked two tabs assembling my first one and welded them back on with a solder iron. The tabs did not lay flat without reaming burrs off of the tabs as well. I used a bench vise to fully seat mine.
LBRY Tags: scalable; offensive; hand; grenade; stackable