View this release
Alternative links
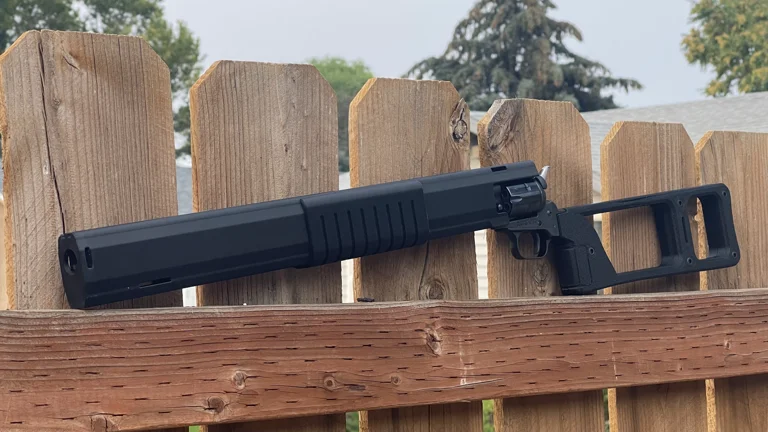
I've had a lot of people asking about this one, so I finally polished up the files a bit for the Heritage Rough Rider "Long Rider" Space Carbine.
This will fit on an Ender 3, but you'll need to turn bed adhesion options off for the stock!
For the stock, print them with the outer facing portions down on the bed. You will need to play with angling and positioning, but I promise, it'll fit on an Ender 3 standard bed! Minimal supports will be needed.
For the base, print it front down on the bed. For the front piece, also print it front down on the bed. The handguard can be printed however you can fit it, but I had good luck printing it front down as well. The joint piece is used to help align and join the carbine kit front and base pieces together. This will all need to be glued up. The blast shields are optional and are attached by looping the hook over the top notch in the kit and screwed into the hole on the side of the carbine base. You'll need M5 hardware for the stock and whatever small self tapping screw/bolt you can fit for the optional blast shields.
This is for the 16" barrel models only for safety and legality.
EDIT: For more idiot-proof instructions, that some people apparently need:
For the stock, you will need 5 (Five) M5-25 Socket Head Screws with accompanying hex nuts
Print the pieces with strong infill and wall settings. It doesn't need to be 100% infill, nothing here is taking any real impact, so normal high strength print settings like 6-8 walls and 35-50% infill should suffice.
For the base, print it muzzle side down. For the front, print it muzzle side down. For the stock pieces, print the outside of the part down.
I have a separate file with the top rail section. It can mount using M4 flat head countersunk screws, 10-15mm long. If they are too long, cut the excess off.
LBRY Tags: 3d printing