View this release
Alternative links
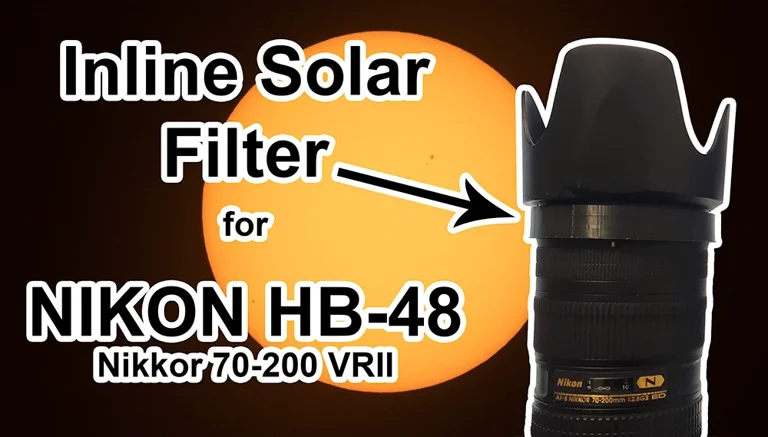
An inline solar filter adapter for the Nikon/Nikkor 70-200mm VRII Lens that allows use of the lens hood for protection.
Overview:
I designed this specifically to use the existing lens hood mounts on my Nikkor 70-200 f/2.8 VR II. To the best of my knowledge, this is the only lens that uses these specific mounts, however you might be able to apply this to other Nikon lenses by changing the X/Y scaling of your print. The filter snaps in place on the front of the lens and holds in a friction notch. The lens hood then snaps over the front of the filter to provide physical protection of the filter film during use. You can also use these files to make creative filters with other media such as colored gels, cling wrap, petroleum jelly, fishnets, etc. Your options are endless.
Can be printed in any plastic you are comfortable with, but given the design intent is to be pointed at the sun for lengthy periods of time, heat and UV concerns should be brought into consideration. For this, I would recommend Nylon or ASA. I have test printed this in PA-12 CF to great success. I have also tested in in PC and the hard/glossy nature of PC caused a premature failure due to adhesive separation.
NOTE: Pointing magnified optics at the sun can be dangerous. Improper use can irreplaceably damage your equipment or cause blindness. By printing these files, you knowingly assume all risks involved. It's recommended to only use ISO 12312 certified films. I personally recommend Thousand Oaks Optical Silver-Black Polymer https://thousandoaksoptical.com/shop/solar-filters/silver-black-polymer-sheets/ or SolarLite Film https://thousandoaksoptical.com/shop/solar-filters/solarlite-filter-sheets/ . I have no professional relationship with Thousand Oaks other than being a satisfied customer for over a decade. The film is pricey, but if you team up with some friends, you should be able to get several filters worth out of a single sheet. You'll also need an adhesive of some sort. Thousand Oaks recommends GE 100% silicone (found in the caulk and sealant aisle of your local big box hardware store). This provides adequate adhesion to hold the shells together and will not chemically react with the film. Other adhesives may dissolve or degrade the film. GE 100% silicone is what they use in the assembly of their filters.
There are four parts, an upper and lower shell for the filter itself, and top and bottom caps to protect the filter film. Print the upper and lower shell as oriented. Use supports on the lower shell. Print the caps as oriented, no supports required.
After printing, and annealing if desired, test-fit all pieces together. Ensure proper lens hood alignment to your camera body and make an index mark on the upper and lower shells. Generally speaking, the notch of the blade on the lower shell should align with the vertical on the upper shell's blade slot.
Once fitting has been achieved, lay out some flat, clean paper on a hard surface as a work area. Trace the upper cap onto your filter film and carefully cut the film along the inside of the line. Set the film aside on your clean paper with the SILVER side up. Using a toothpick or similar, apply a clean coat of silicone to the inside wall and ledge on the top half of the lower shell. Sit it down with the adhesive side up. Now apply a thin layer of silicone to the bottom and outermost side of the upper shell. Visually center the upper shell over the film and slowly lower it in place. Press down just hard enough to ensure a pressure bond has formed between the upper shell and the filter film. Lift the upper shell and the film should come with it. Now align your index marks and place the upper shell, film side down, into the lower shell. Press down hard for a few seconds. At this point, take a moment to visually inspect the assembly. Your index marks should be aligned, the blades should be visible on the outside of the upper shell and inside of the lower shell, and the filter film should be clean. If there is a small amount of silicone on the films edge, that's okay. Leave it. You'll only make it worse by trying to clean it. If the film has significant smears of silicone on it, pull the assembly apart, discard the film, and start over. Once your satisfied, sit the assembly back down on your hard surface, pile a couple of hardback books or weights on top of it, and leave it sit for 24 to 48 hours while the silicone fully cures.
Once assembly and curing are complete, you're ready to photograph the sun. Make sure you do a visual inspection of the filter before each use and ensure there are no cracks or pinholes in or around the film. If there are, discard it and make a new one.